Real Estate Photography Checklist for EU Agents
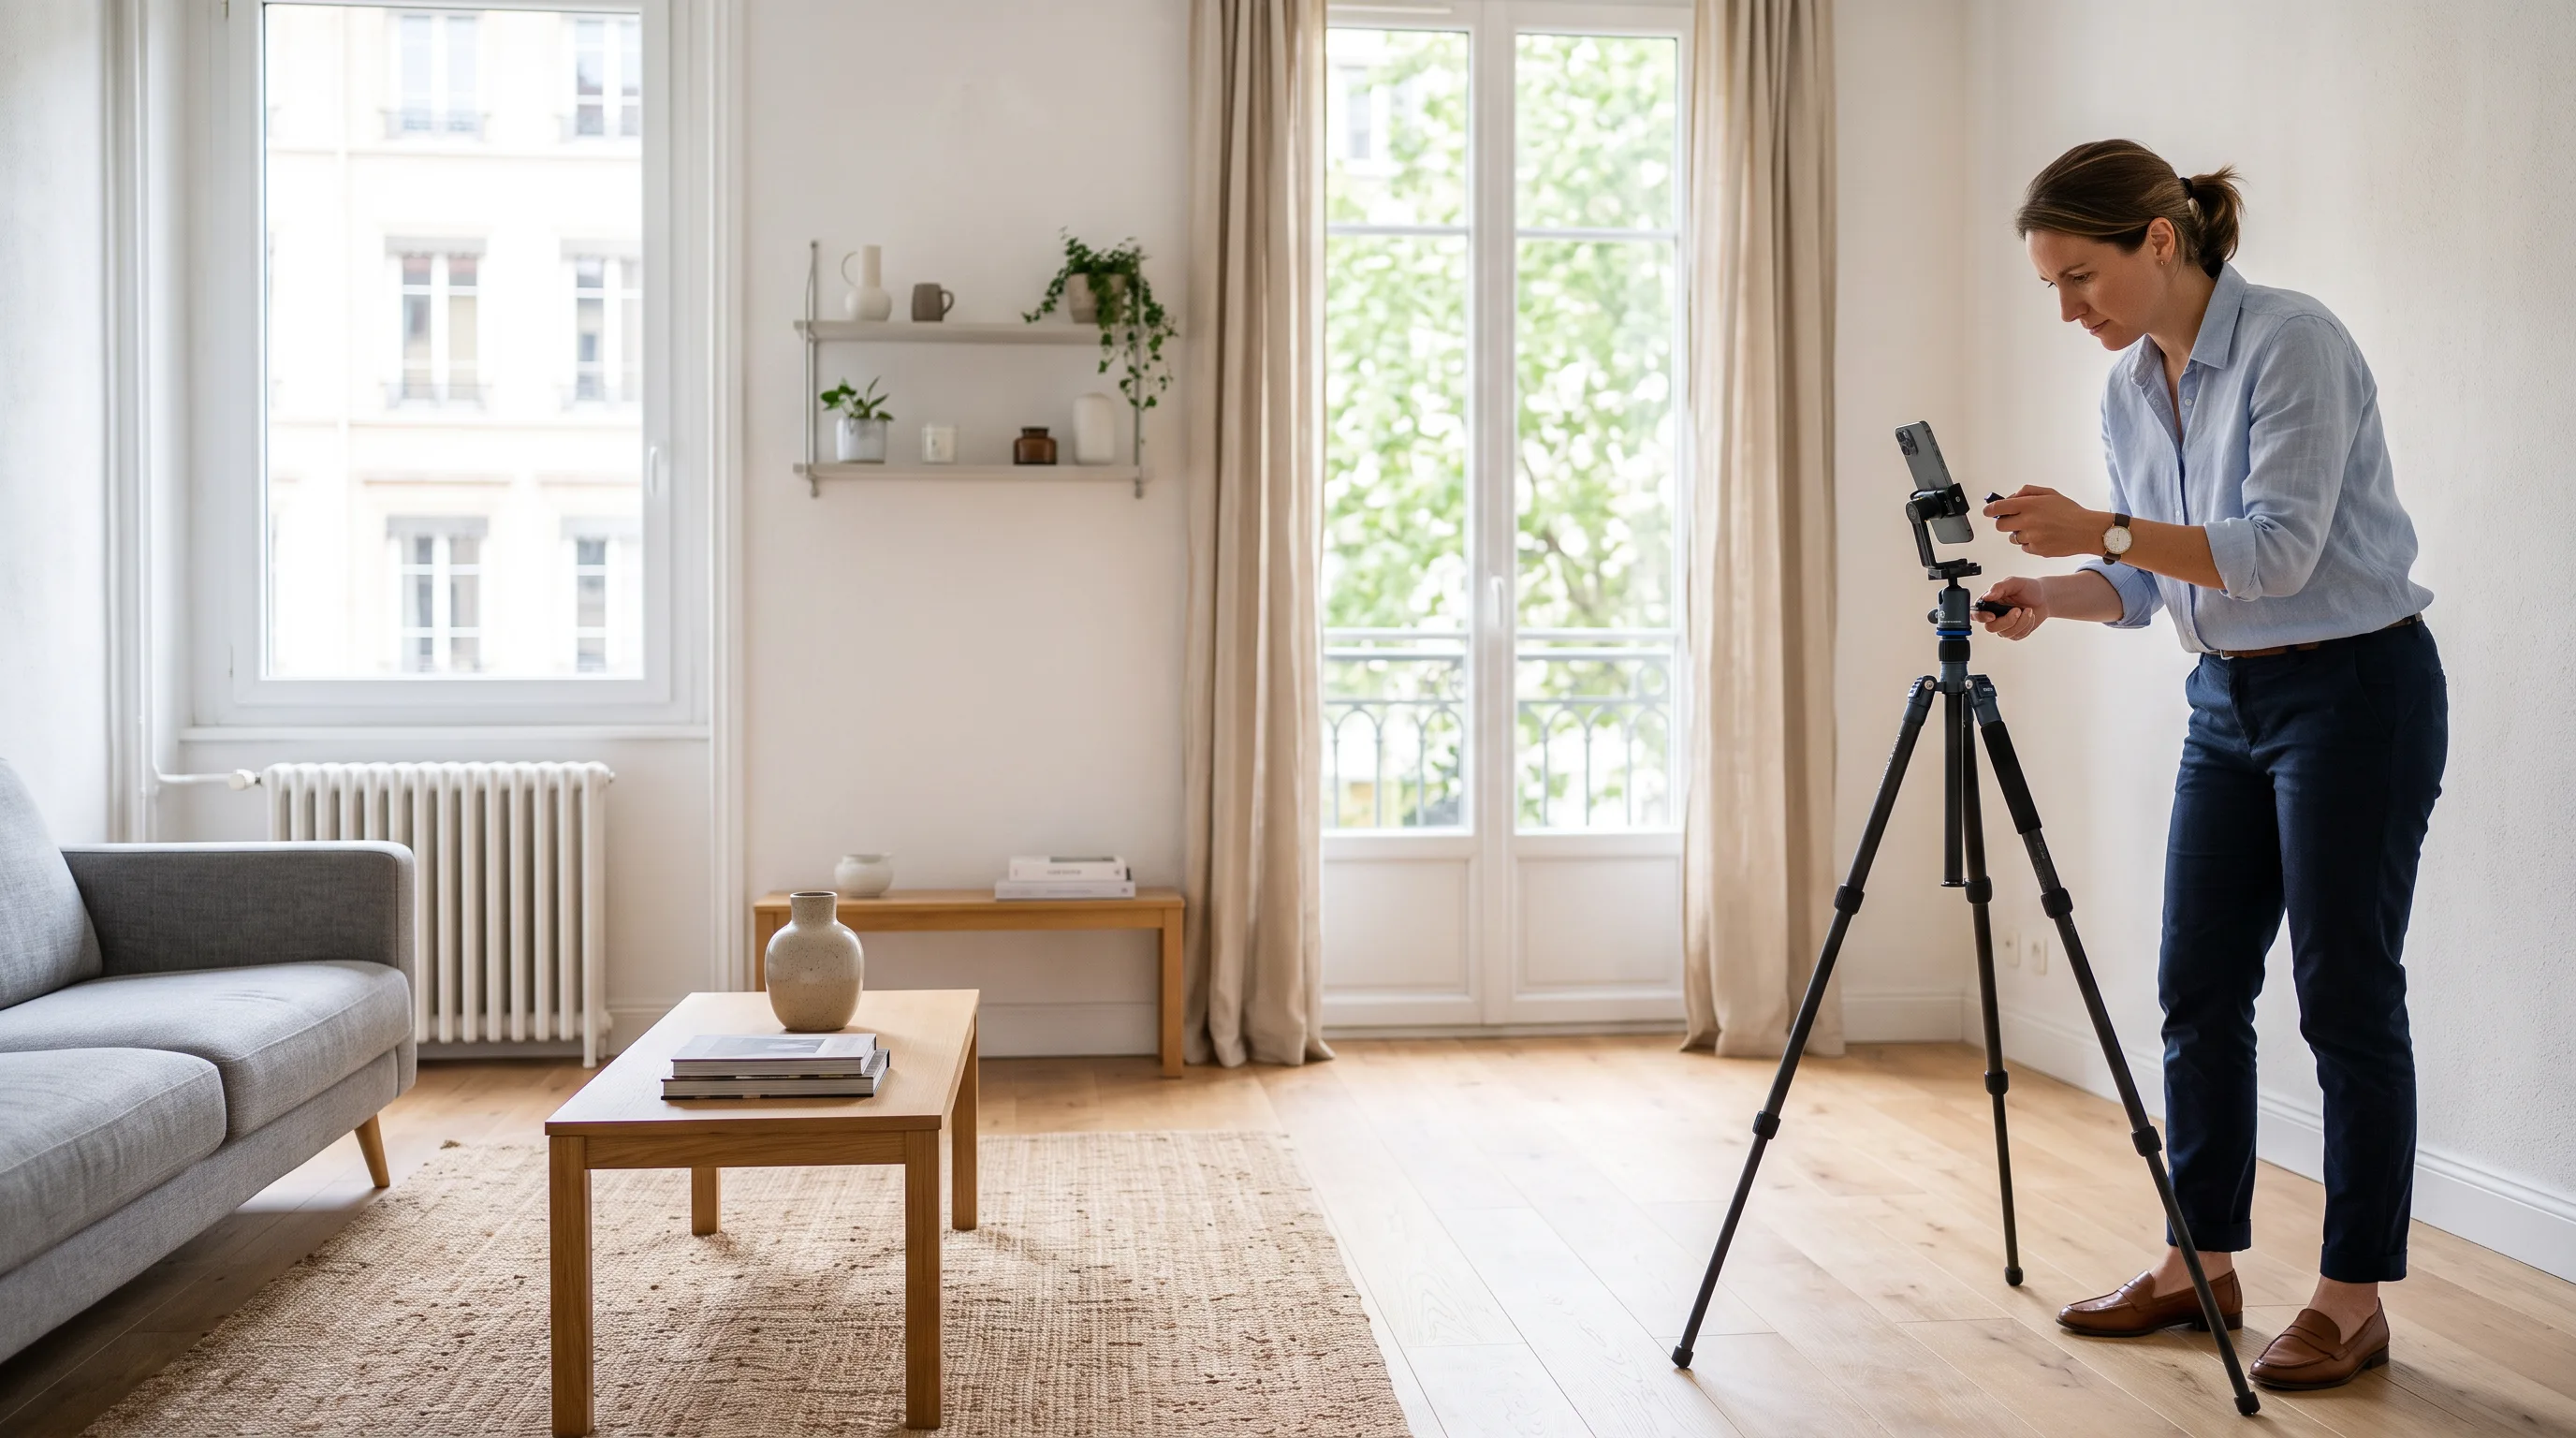
A useful real estate photography checklist helps an agent produce a complete, accurate listing gallery without making every shoot a technical exercise. Prepare each room and remove personal information first. Then use a clean lens and the camera's level, shoot from a height that suits the room, keep vertical lines straight and cover every space a viewer needs to understand. Outside, show the approach, facade, garden and permanent features in context. Before leaving, check sharpness, reflections, windows, missing rooms and repeated views on a larger screen.
For most homes, a recent smartphone can do the job in good light. A professional becomes worthwhile when the property is high-value, complex, dark or hard to reshoot. Editing can correct exposure, colour and perspective, but it cannot recover missing detail or justify hiding defects. EU agents also need privacy and publishing checks: remove unnecessary personal data, know the lawful basis for what remains, follow each portal's rules and disclose material visual changes where required.
Real estate photography checklist: the quick version
These 12 steps cover the minimum an agent should complete before, during and after a property shoot.
- Agree the scope. Confirm which rooms, outbuildings, parking spaces, views and shared areas belong in the listing.
- Prepare the property. Open blinds, straighten furniture, clear worktops and remove bins, laundry, toiletries and loose cables.
- Run a privacy sweep. Remove faces, family photographs, post, certificates, screens, number plates and anything else that may identify a person unnecessarily.
- Check the light. Photograph in daylight where possible, avoid harsh patches of direct sun and decide whether room lights improve or distort the colour.
- Clean the lens. A fingerprint can soften the entire gallery and create flare around windows.
- Set the camera. Use the grid and level, select the standard 1x lens, switch off digital zoom and keep the phone steady.
- Shoot a logical route. Start with the approach and entrance, then move through the property in the same order a viewer would walk it.
- Keep geometry believable. Hold the camera level, keep walls vertical and avoid stretching small rooms with an ultra-wide view.
- Cover each space. Capture the room's layout, main feature and connection to the next space without repeating near-identical angles.
- Photograph the exterior honestly. Include the facade, access, garden and relevant permanent surroundings, not just the most flattering corner.
- Review before leaving. Check sharpness, reflections, bright windows, dark corners, personal data and missing rooms on the largest screen available.
- Edit and approve narrowly. Correct presentation problems, then use the AI real estate photo quality checklist to compare every result with the original and reject edits that alter a material fact.
How should agents prepare a home before the photo shoot?
Agents should make the property tidy and easy to understand while preserving its real condition. Preparation saves more time than retouching because it keeps furniture and clutter from blocking the room or distracting from its layout.
Ask the seller or tenant to clear kitchen worktops, bedside tables, bathroom products and excessive decorations. Make beds, align dining chairs, hide visible cables and replace dead light bulbs. Open internal doors only when they help explain how rooms connect. Do not cover cracks, damp, damaged flooring or fixed equipment that a viewer may need to assess.
Then perform a separate privacy sweep. Under the GDPR, a photograph falls within data-protection rules when it contains information relating to an identified or identifiable person. An empty room is not automatically personal data, but a face, family portrait, name on a letter, readable certificate, recognisable number plate or distinctive personal possession may be.
Data minimisation is the practical starting point: remove unnecessary details before taking the photograph. Consent is not the only possible lawful basis, and it is not automatically required for every property image. The agency must identify and document the basis that applies to its processing. If a photo-editing service processes images for the agency, processor terms and any relevant international-transfer safeguards also need review. The Immopix GDPR overview explains the service's current processing arrangements.
What equipment and camera settings do you need?
A clean smartphone and careful camera placement are enough for many standard listings. A small tripod helps when the light is poor or the phone needs a slower shutter. Better equipment does not compensate for a missed room.
| Setting | Practical default | Why it helps |
|---|---|---|
| Grid and level | On | Keeps walls and horizons straight |
| Lens | Standard 1x lens | Gives a more believable sense of space |
| Digital zoom | Off | Avoids throwing away image detail |
| Flash | Off in most rooms | Prevents harsh reflections and flat foreground light |
| HDR | Auto, then review | Can retain window and shadow detail, but may look unnatural |
| Timer | 2 seconds on a tripod | Reduces movement when the shutter is pressed |
| File size | Highest practical quality | Leaves enough detail for cropping and correction |
Use the ultra-wide lens only when the standard lens cannot show the room's function. Extreme wide views can make a modest room look larger and distort objects at the edges.
Do not use one fixed camera height. Chest height often works in a living room, while a lower position may suit a bedroom and a higher one can show a kitchen worktop. The image should explain the space without showing too much ceiling or floor.
What photos should a property listing include?
A listing gallery should cover every relevant space without padding the count with repeated views. There is no defensible ideal number for every EU property or every portal. A studio apartment and a detached house with outbuildings require different coverage.
Use this room-by-room shot list:
- Approach and facade: Show the main elevation, entrance and access.
- Hall and circulation: Include them when they explain the plan or stairs.
- Living room: Capture the main seating area, windows and adjoining spaces.
- Kitchen: Show the units, worktops and fixed appliances.
- Bedrooms: Show where a bed and storage fit.
- Bathrooms: Keep the photographer out of mirrors and show the main fixtures.
- Balcony, terrace and garden: Include access and important fixed features.
- Parking, storage and outbuildings: Photograph them when they form part of the offer.
- Views and surroundings: Show them from the property's real position without hiding roads or obstructions.
Order the gallery like a short viewing: exterior or main living space, entrance, reception rooms, kitchen, bedrooms, bathrooms and outdoor areas. Keep related spaces together so viewers can form a mental floor plan.
How do you photograph rooms accurately?
Accurate room photography starts with straight verticals and natural perspective. Stand far enough back to explain the room, but do not force every wall into one frame.
Keep the camera level. Door frames and wall edges should run parallel to the image sides. In a tight room, try the doorway or an adjoining space before using the widest lens. Keep large furniture away from the lens.
Windows need a deliberate exposure choice. Tap the middle of the room, lower exposure if the window turns white, and take a second frame if the interior becomes too dark. Check mirrors, ovens, shower screens and dark windows for people or documents.
Daylight and warm ceiling lights can create yellow or blue colour casts. Try the room with lights off and on, then keep the version closest to how it looks in person. Interior photo enhancement can improve exposure and colour, but it still needs a sharp, well-framed source.
How should you photograph exteriors?
Exterior photographs should show the building, access and outdoor space in their real setting. Choose a position that keeps the facade straight and gives enough context to judge the approach, boundaries and scale.
Walk around the property first. Look for backlight, parked vehicles, bins, building work and deep shadows. Move temporary distractions with permission, but leave permanent surroundings visible. Cover the main elevation, entrance, garden or terrace, parking and included fixed features.
Overcast weather often gives you softer, more even light, so it does not automatically ruin a shoot. If the building is clear, a restrained sky replacement may be possible. Treat it as a scene change, check the shadows and follow relevant disclosure rules. Never disguise flood water, damp, snow damage or surface condition.
What should you check before leaving the property?
Before leaving, review the gallery for sharpness, coverage, privacy and consistency. A short check can prevent a second visit.
Zoom into one image from each room. Check sharp details, windows, dark areas and vertical lines. Look again for faces, names, post, number plates and reflections. Compare the shot list with the property, including storage, parking and outbuildings.
Remove near-duplicates now. Then confirm that the remaining sequence tells a viewer where they are and how the spaces connect. If an image is technically clean but gives the wrong impression of size, view or condition, reshoot it.
What should agents do and avoid when editing listing photos?
Agents should correct exposure, colour and perspective without changing any material fact about the property. Keep the original, ask for only the correction you need and compare both files at full size before publication.
| Editing boundary | Examples | Publishing decision |
|---|---|---|
| Ordinary correction | Moderate exposure, white balance, sharpness and straightening | Usually acceptable when the property and meaning remain unchanged |
| Material change requiring review and possible disclosure | Sky replacement, removal of temporary items, virtual furniture | Check portal and national rules, label the change where required, and retain the original |
| Misleading alteration | Hiding damp or cracks, changing a view, moving walls, adding windows, removing fixed equipment | Reject the edit and do not publish it |
EU consumer law also sets a boundary. Under the EU Unfair Commercial Practices Directive, business-to-consumer marketing of immovable property can be misleading when its overall presentation deceives the average consumer about a main characteristic and is likely to affect a transactional decision. National laws and professional duties may add stricter requirements.
Portal policies are not uniform across Europe. As checked in July 2026, the Dutch portal Funda distinguishes ordinary exposure correction from substantive AI changes in its publication rules. France's SeLoger quality charter for private advertisers requires images of the actual property and prohibits visible people. These are country-specific examples, not EU-wide rules. Check each destination before uploading.
Immopix's 2026 real estate photo study, published in May 2026, analysed 4,098 uploaded photos and 6,101 completed edits from 275 German agencies between January and May. Across 9,848 individual enhancements applied to 3,983 edited photos, exposure and colour accounted for 38%, object removal for 27%, weather corrections for 12% and virtual staging for 9%. One edit can contain several enhancements. This is a sample of photos that agencies deliberately submitted for improvement, and nearly all participating agencies were in Germany. It does not represent all German or EU listing photography.
The sample shows how often agencies submit photos with exposure, clutter, weather and staging problems. Even strong editing cannot add parts of a room that were never photographed, recover fully clipped window detail or make a blurred room accurate. Start with the best source photo you can, then use the free real estate photo enhancement tool to test a restrained correction.
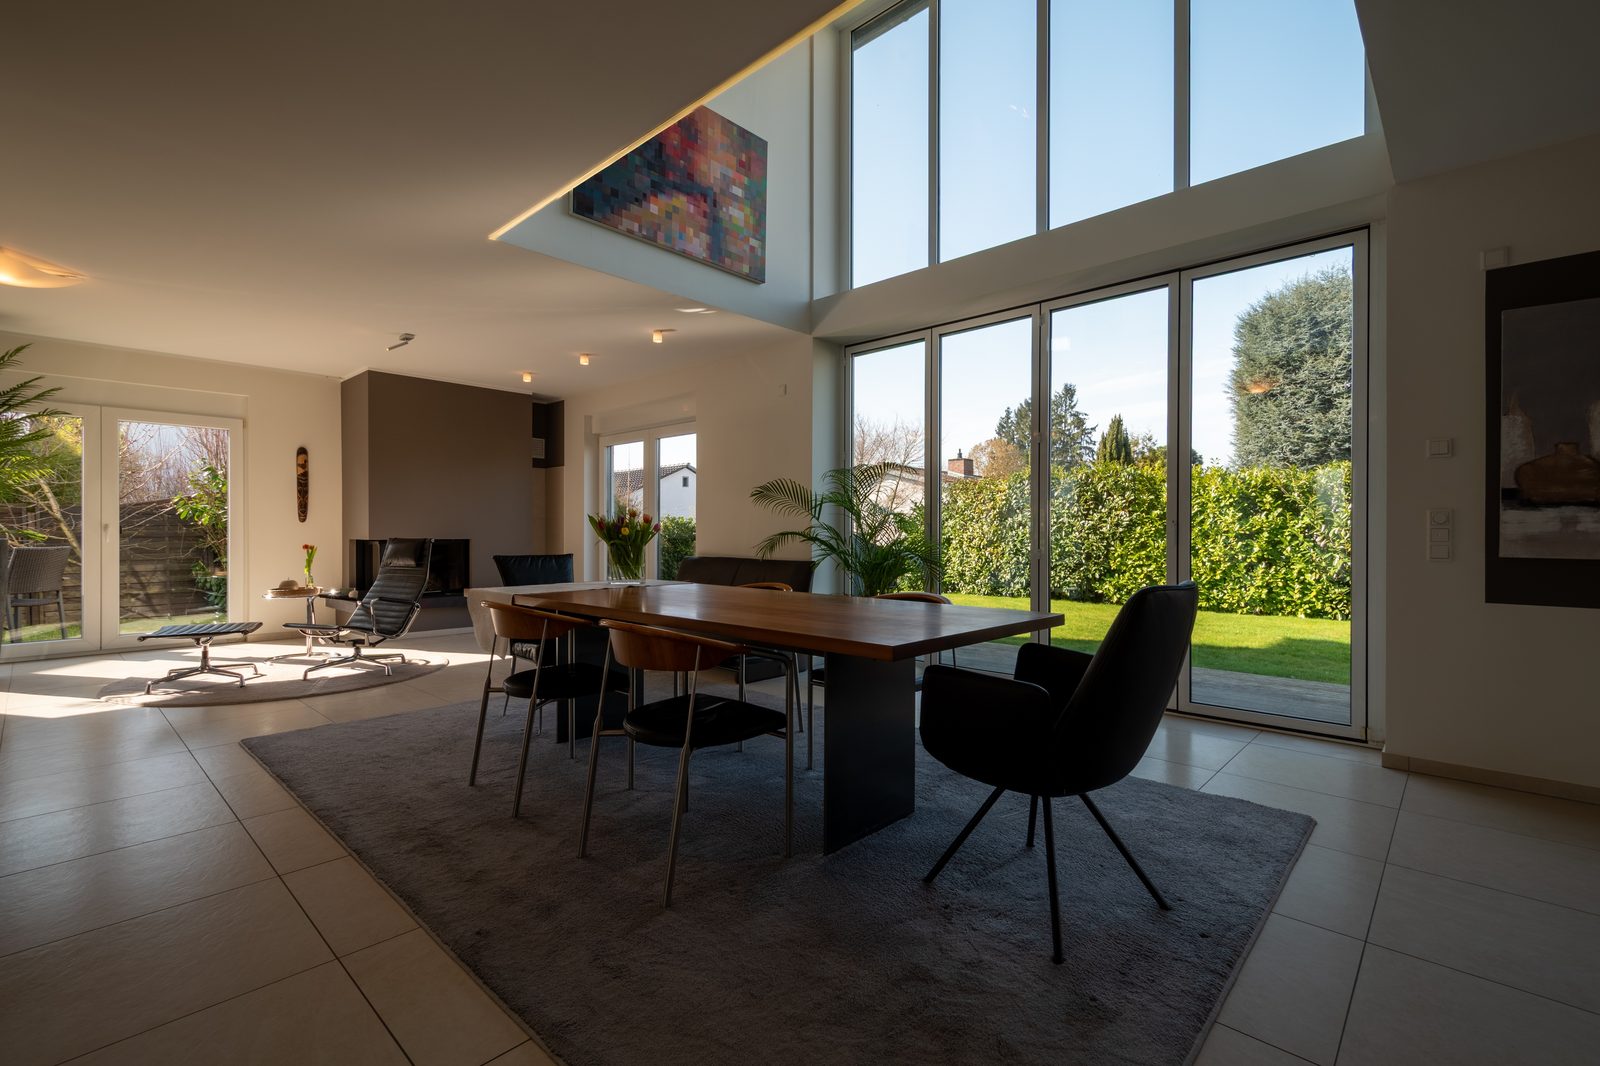 Before
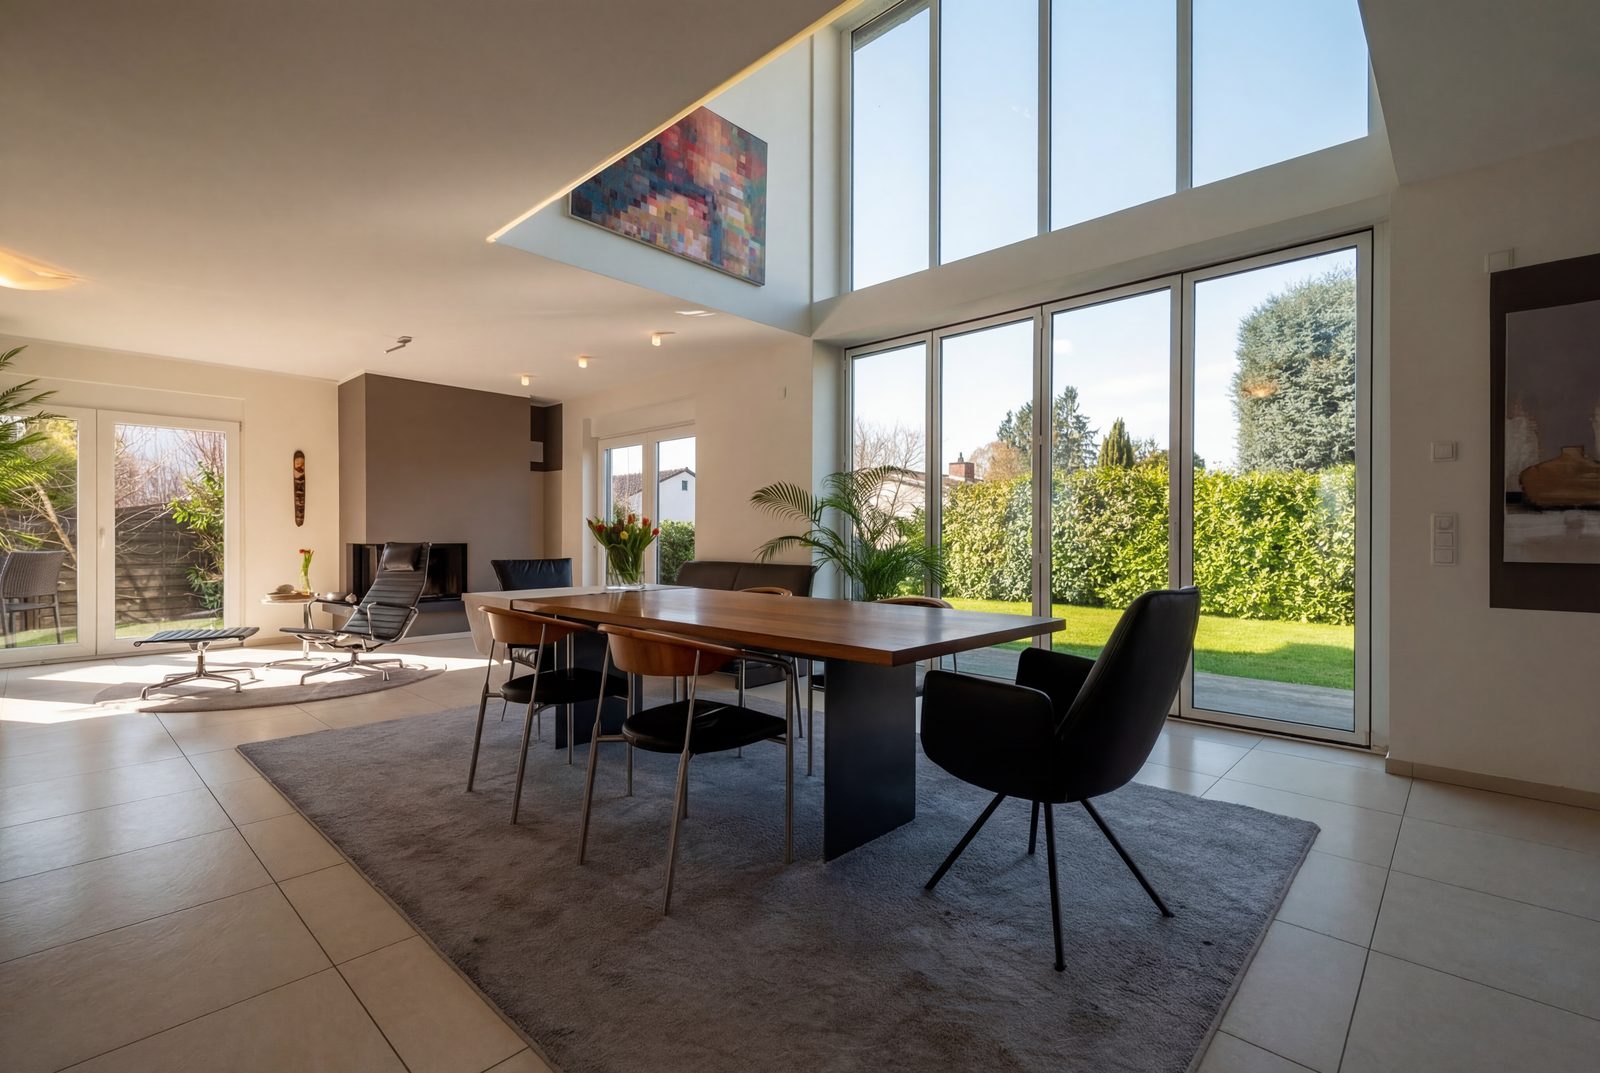 After · AI-edited
Should you take the photos yourself, hire a professional or enhance them?
Choose the route according to the property's value, visual difficulty and cost of a second visit. An agent can photograph a standard home carefully in good light. Hire a professional when the property is difficult to photograph or a reshoot would be expensive. Use enhancement only when the source photo already has sound composition and coverage.
| Route | Best fit | Main limitation |
|---|---|---|
| Agent or staff member | Standard homes, repeatable office workflow, good daylight, easy access | Requires time, consistency and a final quality check |
| Professional photographer | Premium or complex property, difficult light, important architecture, limited chance to reshoot | Higher cost and scheduling lead time |
| Photo enhancement | Good compositions with exposure, colour, perspective, weather or temporary-clutter problems | Cannot recover uncaptured detail or justify misleading changes |
Do not decide solely by price. A small, dark apartment with reflective surfaces may be harder to photograph than a bright house. If test frames show blown windows, blur or distorted geometry you cannot correct on site, book a professional.
For a repeatable DIY process, save the checklist in the property file and use the same review each time. For editing, AI real estate photo editing in the EU covers disclosure, consumer law and approval.
Frequently asked questions
Are phone photos good enough for real estate listings?
Phone photos can be good enough for standard listings when the phone has a clean lens, good daylight and a steady shooting position. Use the standard lens, keep the camera level and review every room at full size. Hire a professional when the property, light or opportunity cost of a reshoot demands more control.
How many photos should a property listing have?
A property listing should have enough photos to cover every relevant space and fixed feature without near-duplicates. There is no universal ideal count across EU properties or portals. Match the gallery to the home, then check the chosen portal's current limits and presentation rules.
Should all room lights be on for property photos?
Room lights should be on only when they make the space look closer to how it appears in person. Warm bulbs mixed with cool daylight can create an unnatural colour cast. Test both versions and choose the cleaner, more accurate result.
Is a wide-angle lens misleading in property photography?
A wide-angle lens becomes misleading when it exaggerates room size or distorts objects at the edges. Use the standard lens where possible, move back before switching wider and reject any frame that gives viewers a false impression of the space.
Can agents edit listing photos?
Agents can edit listing photos, but ordinary correction and material alteration need different treatment. Moderate exposure or colour correction may preserve the same meaning. Hiding defects, changing views or inventing structural features is misleading. Check national law and the publication rules of every portal, keep the original and disclose material scene changes where required.